Advice from Seattle Family Photographer, Anita Nowacka
When looking back at the early part of my career, I see aspects that have changed, while some things have stayed the same. I’ve come a long way from these early career photos improving on composition, posing (and guiding into posing) capturing the family’s personal expression. But, I realized that I’ve kept my process of working with families mostly the same.
Now that I’ve been a family photographer for over 2 decades, I would like to provide beginners in the field, or someone considering to be a family photographer, some advice on how to photograph families with young children. My style of family photojournalism is a “directed photojournalism”, as I call it, which involves leading the family (with poses and even certain expressions) as the photo sessions progresses.
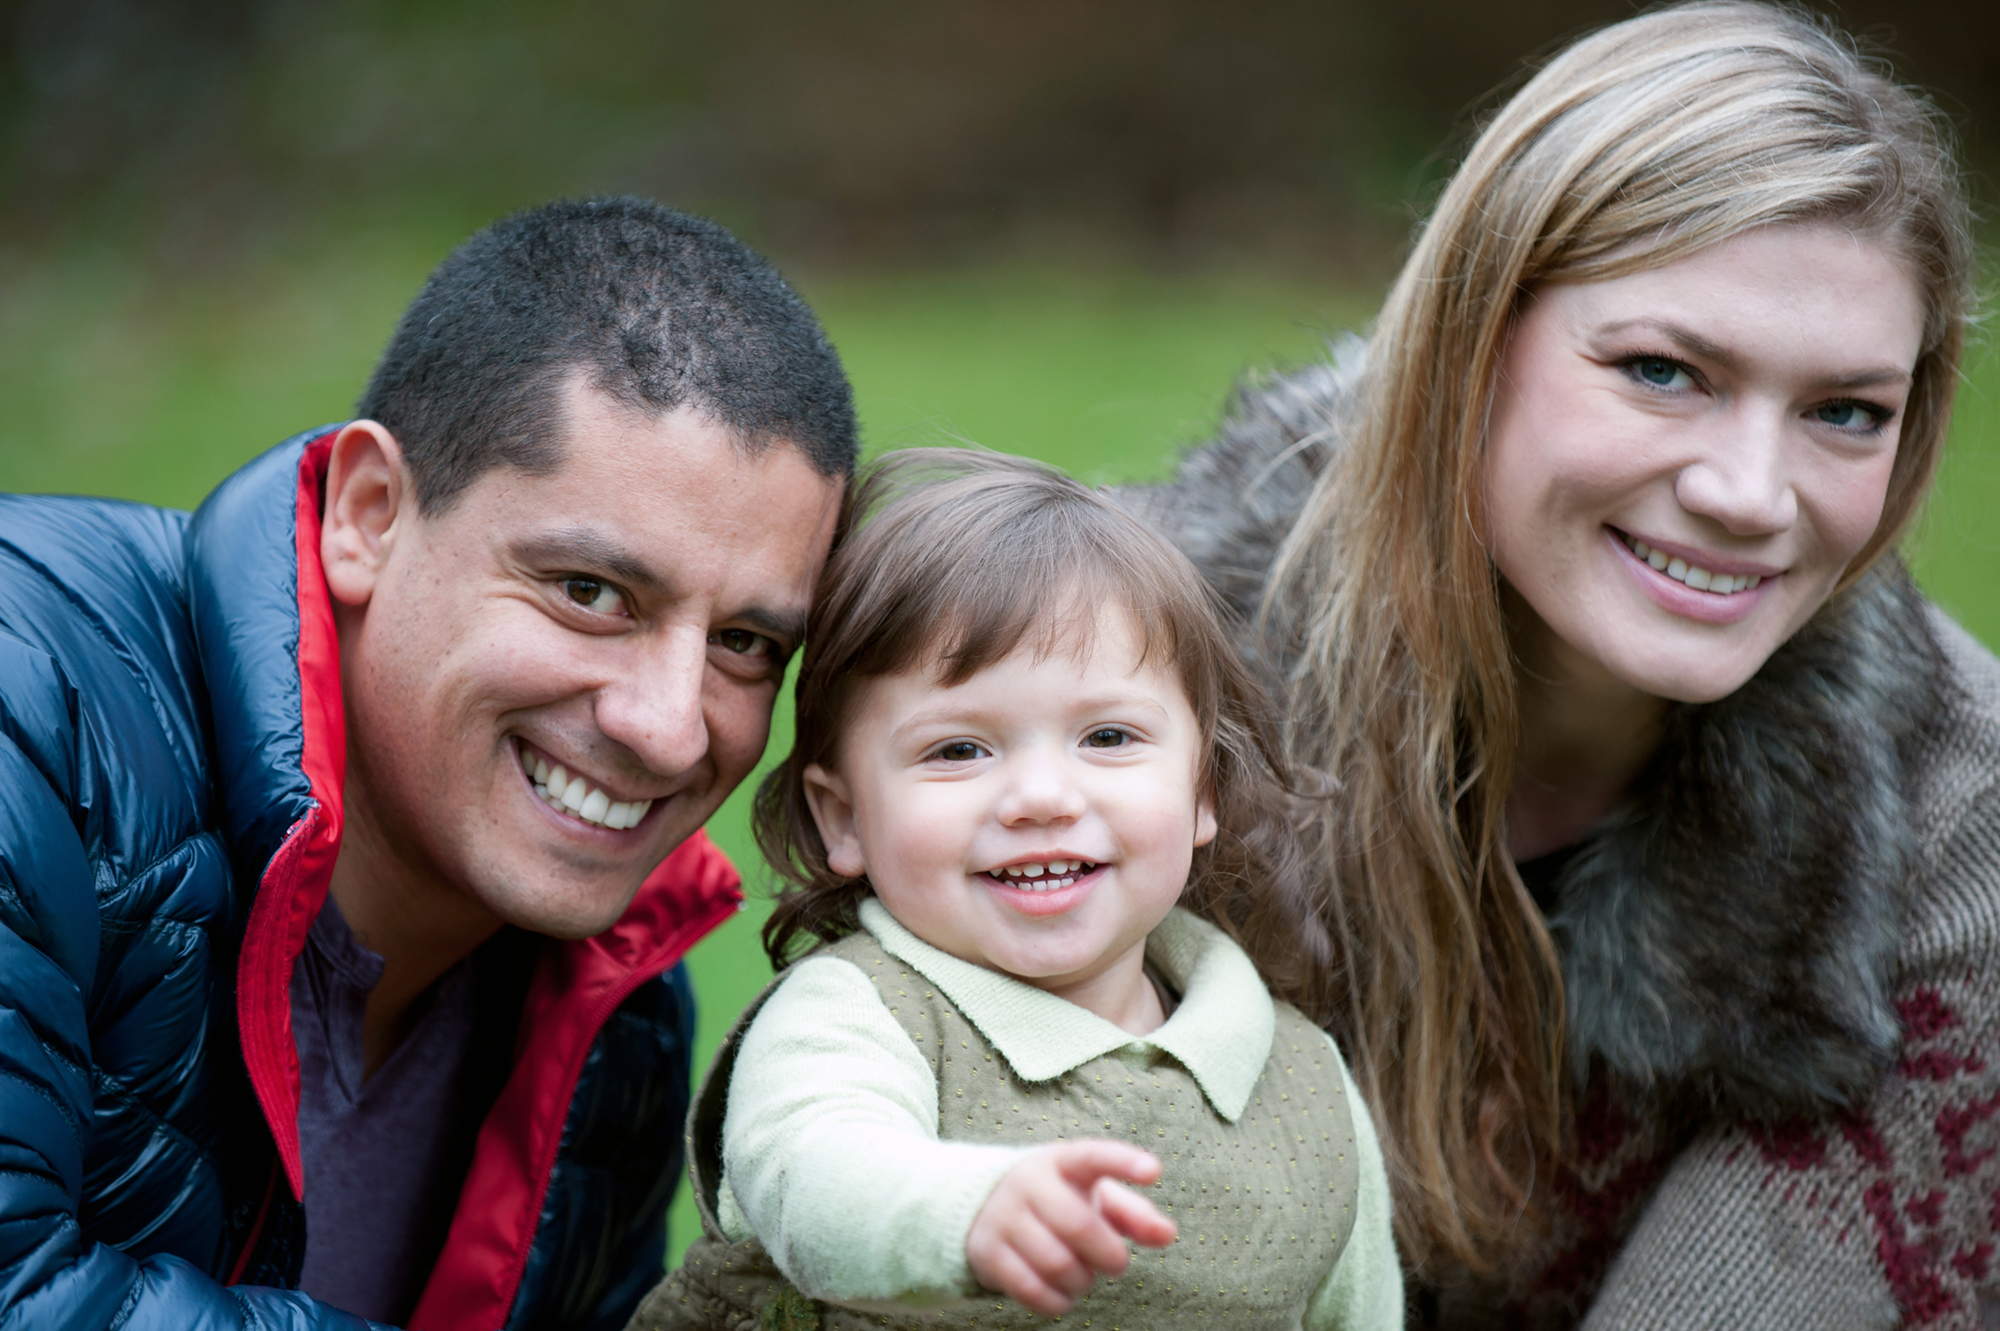
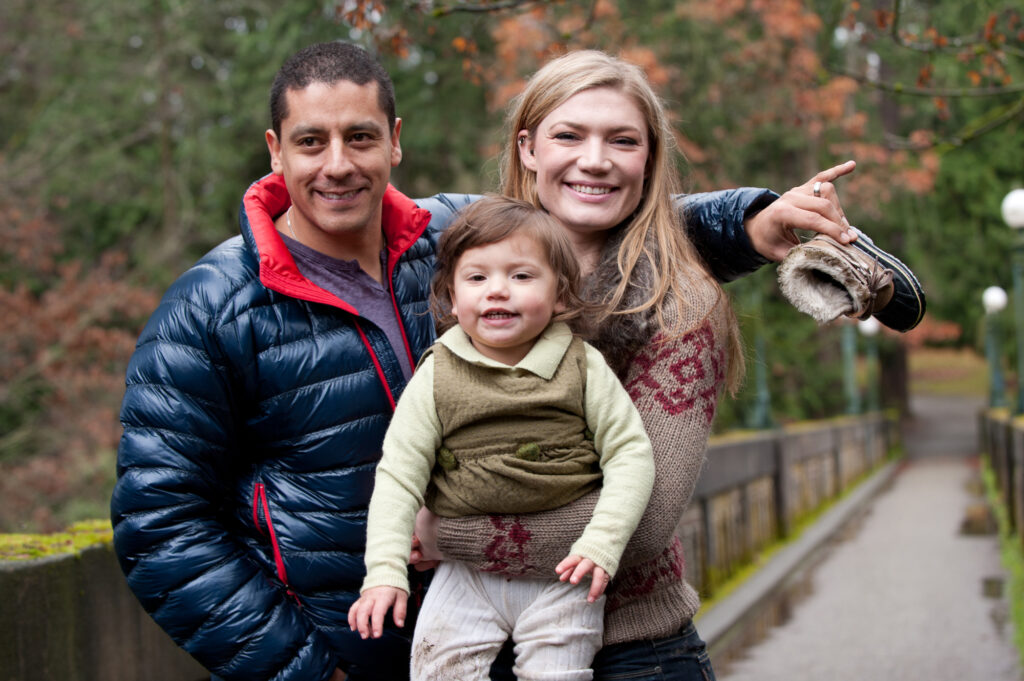
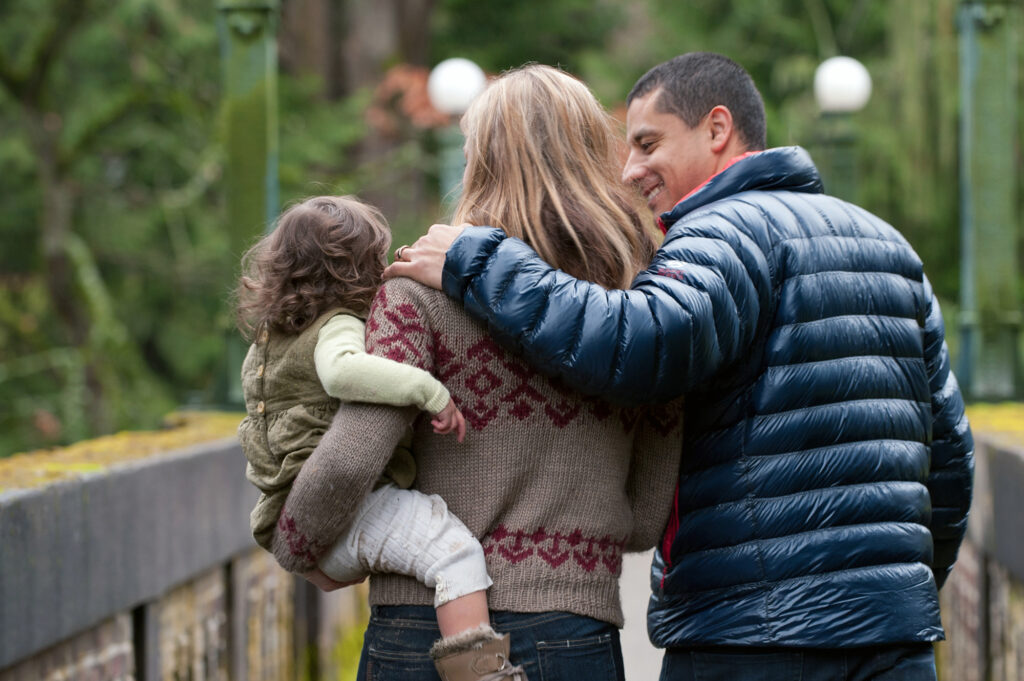
Let’s look into how to photograph families outside which is my primary focus. The family has the opportunity to match outfits to the colors of nature, and the natural environment adds to the photographs. Your family photos will be treasured and poignant no matter what, because they capture the deep connection and love you have with each other. However, dressing up and being meticulous about it adds the extra touch that you do not want to miss. Colors, and most importantly, your style will make the photos more “yours”, harmonious, and one of a kind. Combining intentional direction with nature and human spontaneity is what I have found to be the best combination for getting professional photos that celebrate the joys of family.
The initial contact with the client
First, I will get a phone call, email, or text from a potential client. Quite often they have found me in an internet search and landed on my website. In a phone call, I will discuss with the client my process, such as picking a site ideal for the family and time of year. I typically offer sessions up to 90 minutes. During our phone call, I suggest parks and sites according to how the colors, blossoms, and light looks during that particular season. I also suggest the time when those sites are not too crowded to prevent interruptions. Seattle has many stunning sites at parks, beaches, and “pockets of nature”. I’ve discovered these interesting locations during all the years spent working as a photographer in Seattle.
What to bring to the session
I keep things simple. I bring my one camera body (Nikon Z 6II nowadays), and just one lens (Nikon AF-S Nikkor 70-200mm f2.8). As a backup, I will bring a wide portrait lens (Nikon Zoom-Nikkor AF-S 28-70mm f2.8). On occasion, I may use it, if there is a large family group or if the scenery is wide open (such as large rolling clouds or the decision to include a glorious Puget Sound landscape). I periodically use a light tripod to stabilize the camera for a sharp picture and give me some rest from the heavy equipment. I will bring the speedlight (Nikon SB-5000) for filling the light. I bring a reflector and a couple of props (two funny characters: Kermit the Frog and a Sock Monkey). The equipment I use is just my personal preference that works for me. There are so many equipment options in photography too vast to talk about in this article. It’s wise to research online several photographer’s equipment choices, then choose according to your budget and preferences.
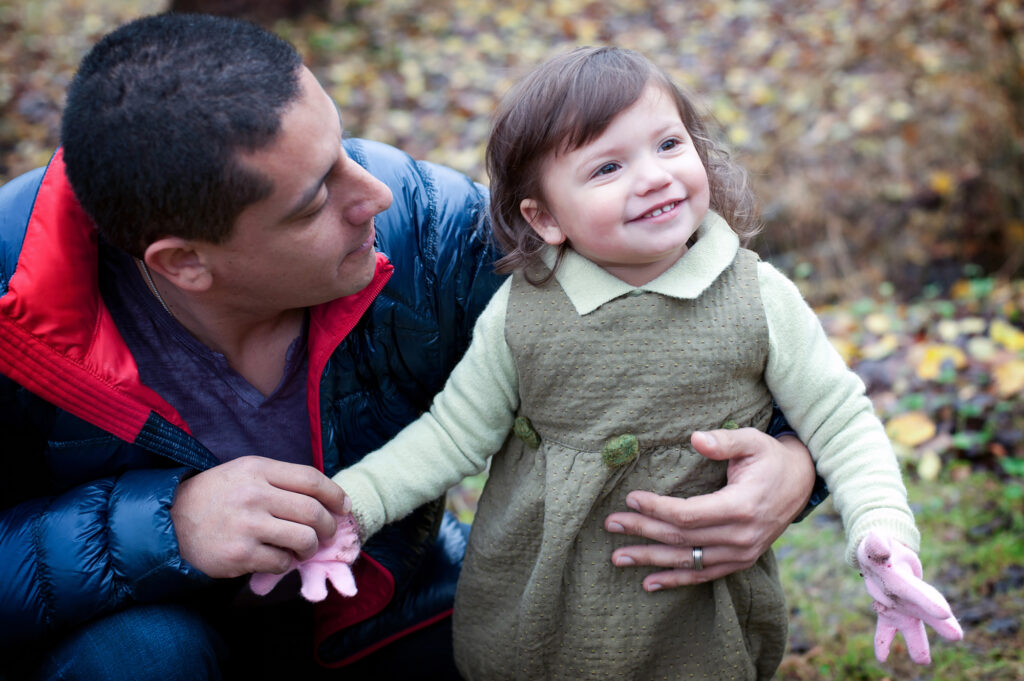
Additionally, I encourage clients to bring their own props such as toy trucks, airplanes, colorful umbrellas, a soccer ball, or anything that is meaningful for the family or matches their interests and hobbies. Music instruments are great. One aspect to families I’m looking for is togetherness, and families gather effortlessly around family members who play instruments. Easy group shot right there! And, the final photos with personalized family props look phenomenal.
The Beginning of the Session
I always arrive early so the client is met by me, not an empty destination. To demonstrate your dependability, arrive early by planning your travel time with room for error! Seattle, and your location too, has traffic time pockets. Avoid rush hour times, to make sure you will all not get stuck in traffic. Also, make sure you remind your client in a pre-session email or phone call to plan extra time for traffic. Inform your client that you may have photography sessions following theirs, so being late may result in having to cut their session short.
Despite the precautions, your client may still be late. Do not get discouraged or upset. Any negative emotions will energetically transfer to your photographs and clients. Stay positive and restore any “bummed” energy clients may have upon late arrival. Say for instance, “I am so glad you are here. Let’s start our session now. We have a beautiful day and light for it!”
Once the client shows up, there may be a challenge to overcome. The parents may arrive stressed. The child could be crying. But, accept all that is initially presented to you, because it will change as the session progresses.
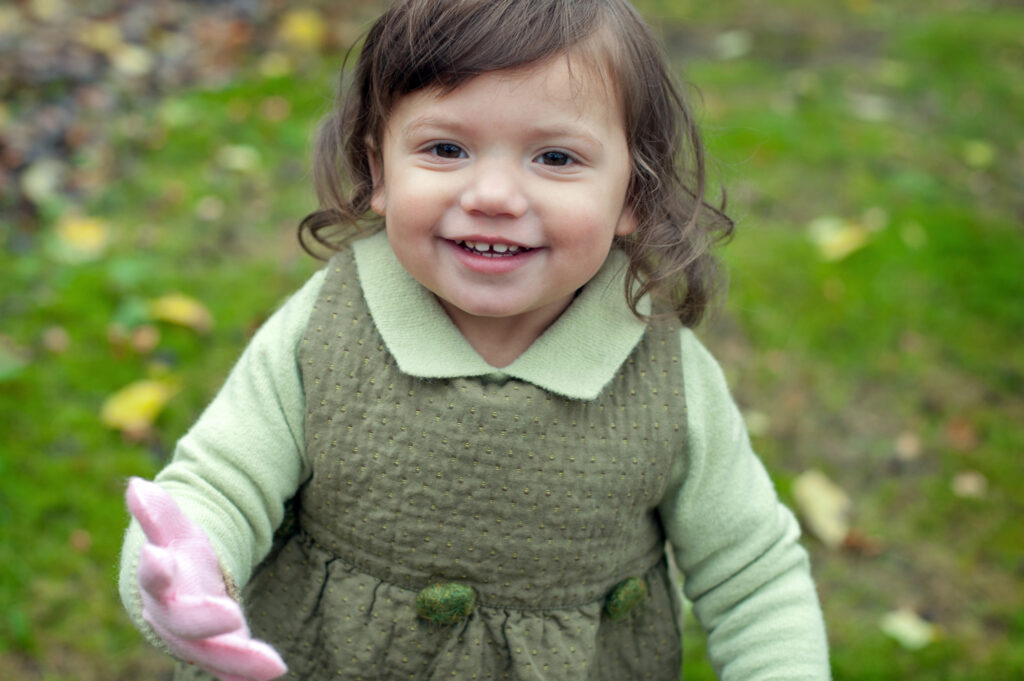
The first third of the session: start with the children
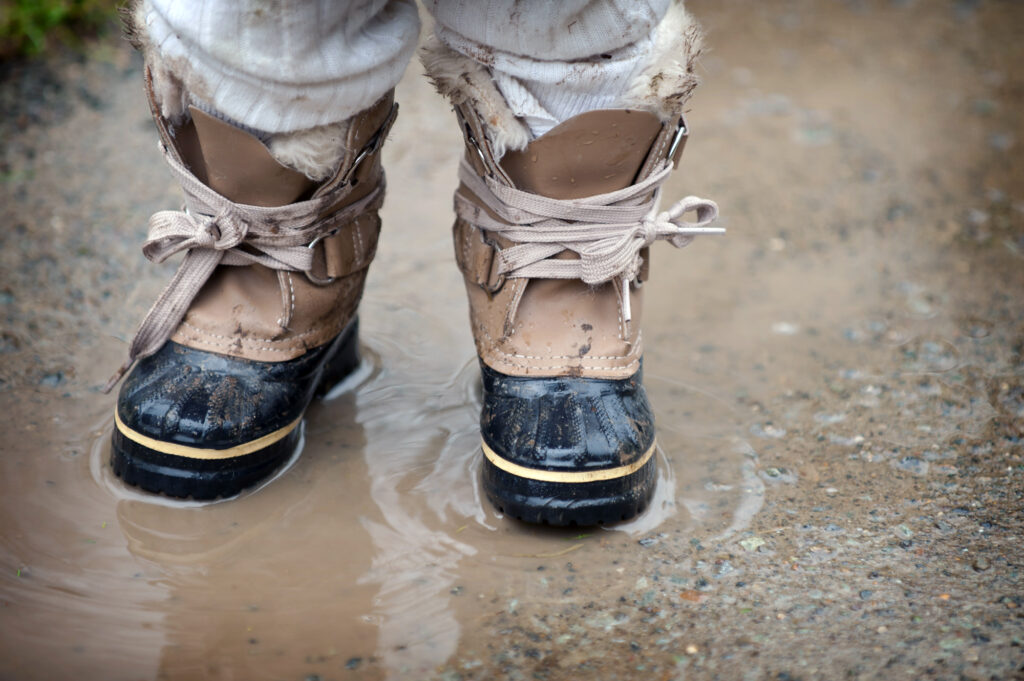
Like this two year old child in the video above, moods change quickly. Once out of the car, she forgot about what was causing her to cry and started to walk through the park…then run. I ran with her camera in hand. Let the child be free, they will be more comfortable with you, and show their true character. Initially, don’t try to control the situation. It’s ok if the child controls the photo shoot at first, they are gaining your trust, feeling out the new place and “stretching their legs”, so to speak.
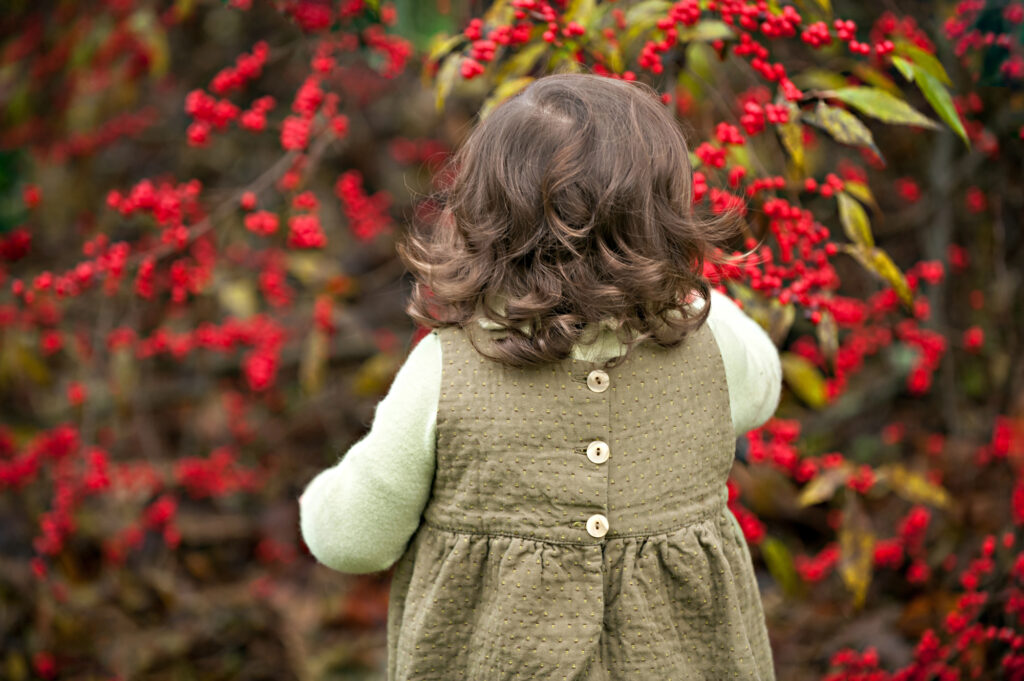
At a second location: start the directed photojournalism
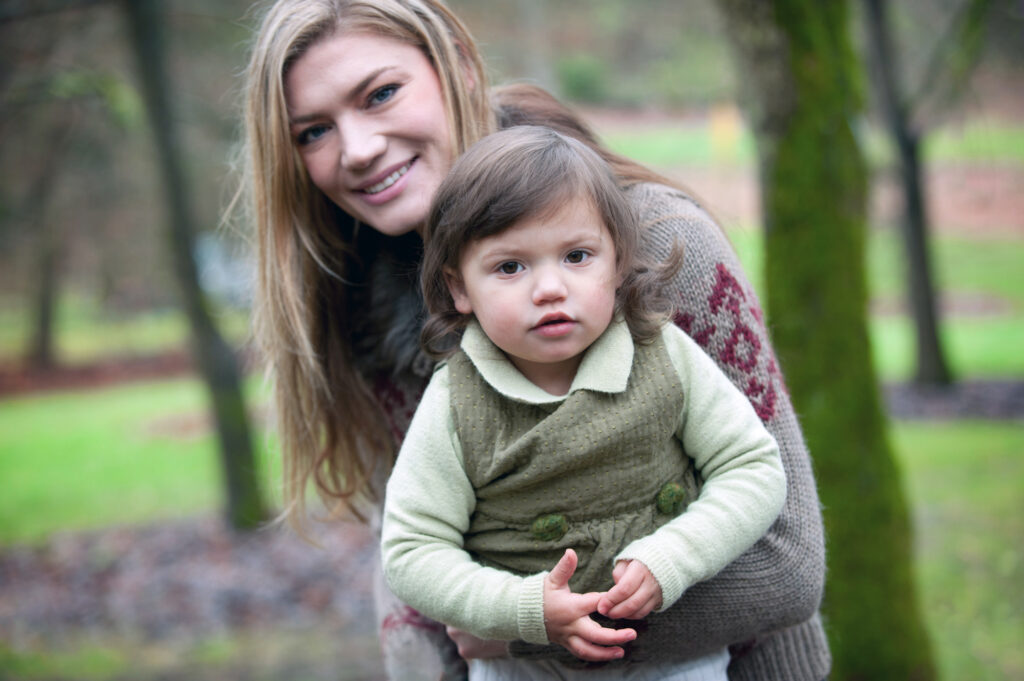
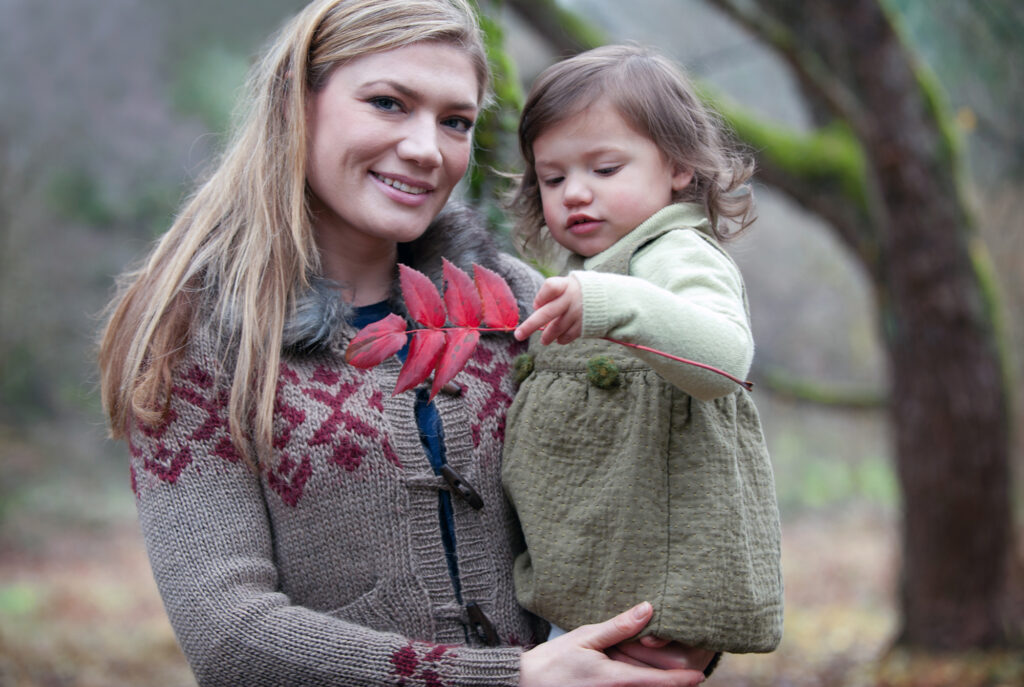
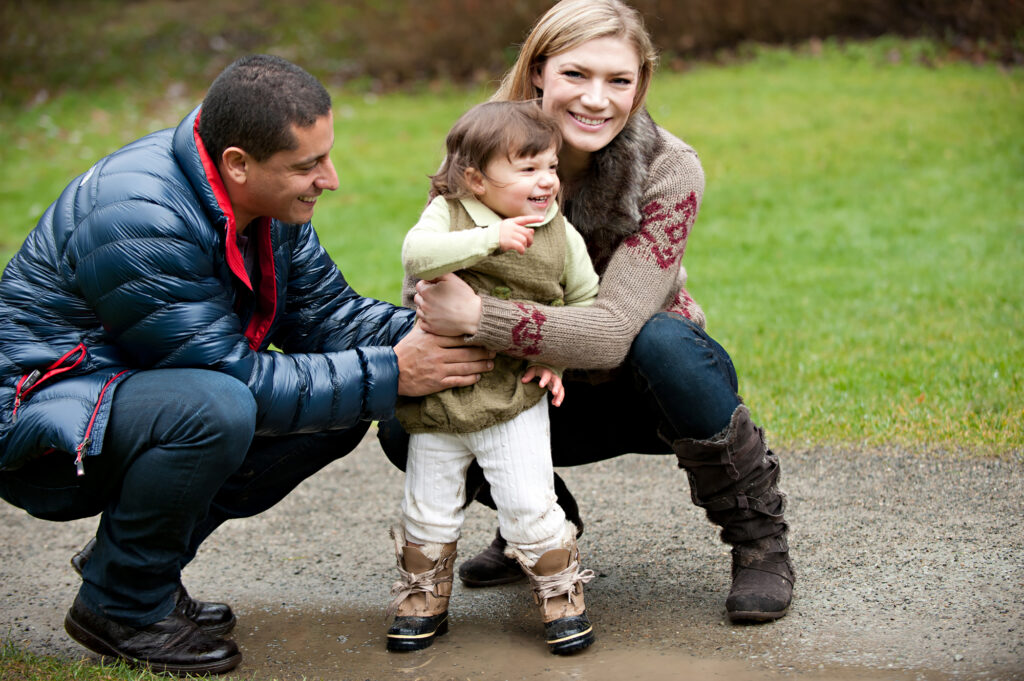
When I talk about “a second location”, I don’t mean go to another park. We may call it another “chapter” of the photo session and how to photograph families. It may be a very short walk to a bench or a bush with colorful berries. In this middle third of the photoshoot, I’m starting to orchestrate the photo session and bring the parents together with the children for family portraits. I’m looking for a spot with a pleasant background, such as a grove of trees, a wooden bridge, or an interesting wall of a building. At this spot I make suggestions for the family to interact or simply look at me. I correct people’s gestures as well, how they hold a child or each other. An unexpected important detail are hands. They either look right or they do not. Make sure you pay attention to those details. They make or they break final photos. If the child is still running, guide them to a place where they will want to stop, like a bench or a tree, mark the spot with a prop, like a stick on the ground or a Sock Monkey leaning against a tree. For young children, a color prop waved behind the camera can serve as a way to get the child to stop wandering. The parents can join in with the child and here is where I get my photos of the whole family interacting together.
The Last Third of the Session
The last half hour is either a bonus round or finally getting what you want. If your props don’t work, or you location is not what you expected, don’t lose your energy or confidence. You might just need to try another spot (a nearby tree angle, a brick wall that is suddenly illuminated nicely by the everchanging light). Over time, as you gain familiarity with that location, you should perhaps know of other interesting parts of the park. Just by walking somewhere else, something new might emerge between the family, or you may see new images you may want to create. As you inevitably get tired from the demands of the session, remind yourself to observe both the physical changes in such details as the changing light and the energy levels adults and children are presenting presently.
Reminders on how to photograph families outside with young children
I hope this video session example along with my writing is helpful for you. The footage was made in the beginning of my career as a family photographer. It remains a solid approach to this day. Just a reminder: take a plethora of images, angles and compositions. Start with what the child wants to do, then guide the child so that eventually you and the parents get to choose possible scenes. Keep your equipment list to a minimum. This allows you to focus on your clients and the environment you are in. Lastly, look your clients in the eye and thank them when you are done. Show gratitude for them hiring you for their photo memories. Also, thank everyone for the prep time, for their team work, and inform them efficiently what will follow next in terms of the process leading to finalizing.
After the session is over, after you have returned to your office space, follow up with an email letting the client know once more what steps will be happening next. I plan on having a blog article about photo post production and those post session steps soon. The process of your professionalism continues after the photo session until the final product is delivered. Nicely package that final product with a personalized note included.
A Common Question Clients ask: Can I bring my dog to our family photo session?
I encourage my clients to bring their pets to sessions and include them. They are part of the family. They make everyone smile and laugh right from the start. Bring those treats, a longer leash and untie that poop bag off of the leash! Also, walk Your dog and exercise it before the session, so photography time is not their first time out for the day.
If You wish to come to my session and observe me work, please check out this mentoring package that I offer.